Bear Flag: How to Profit from Short Setups in Downtrending Stocks
What is a Bear Flag?
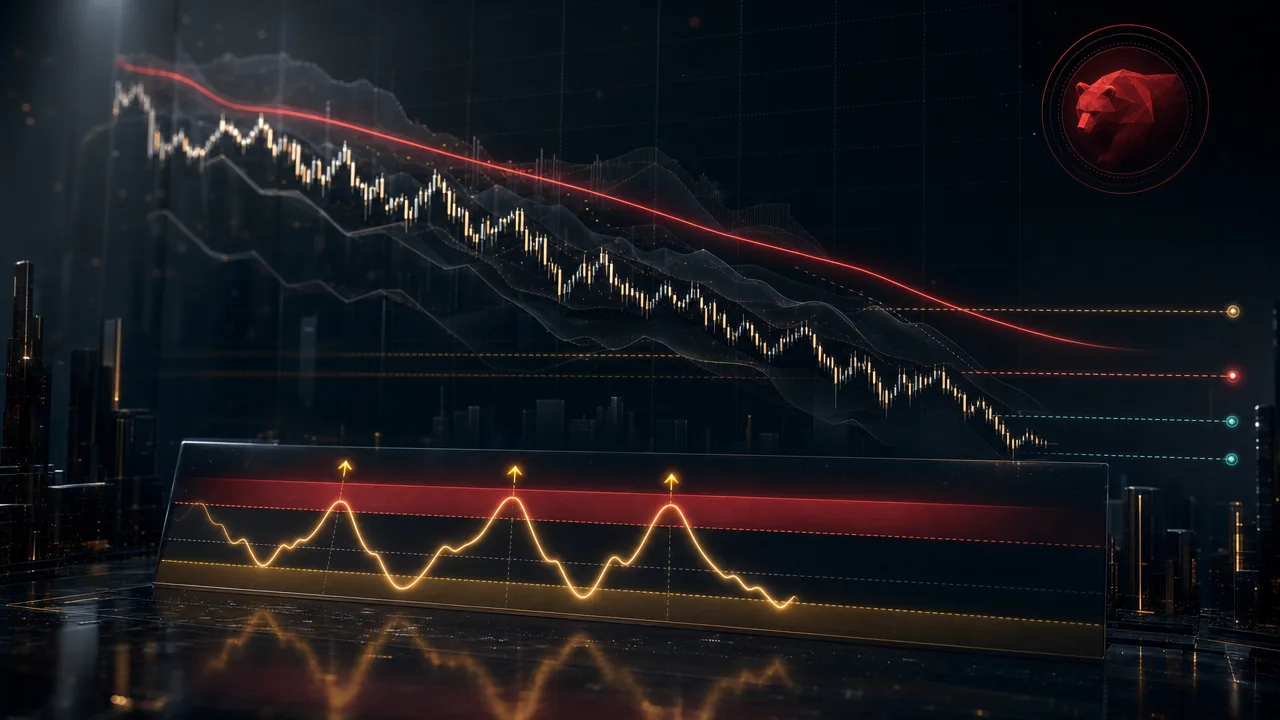
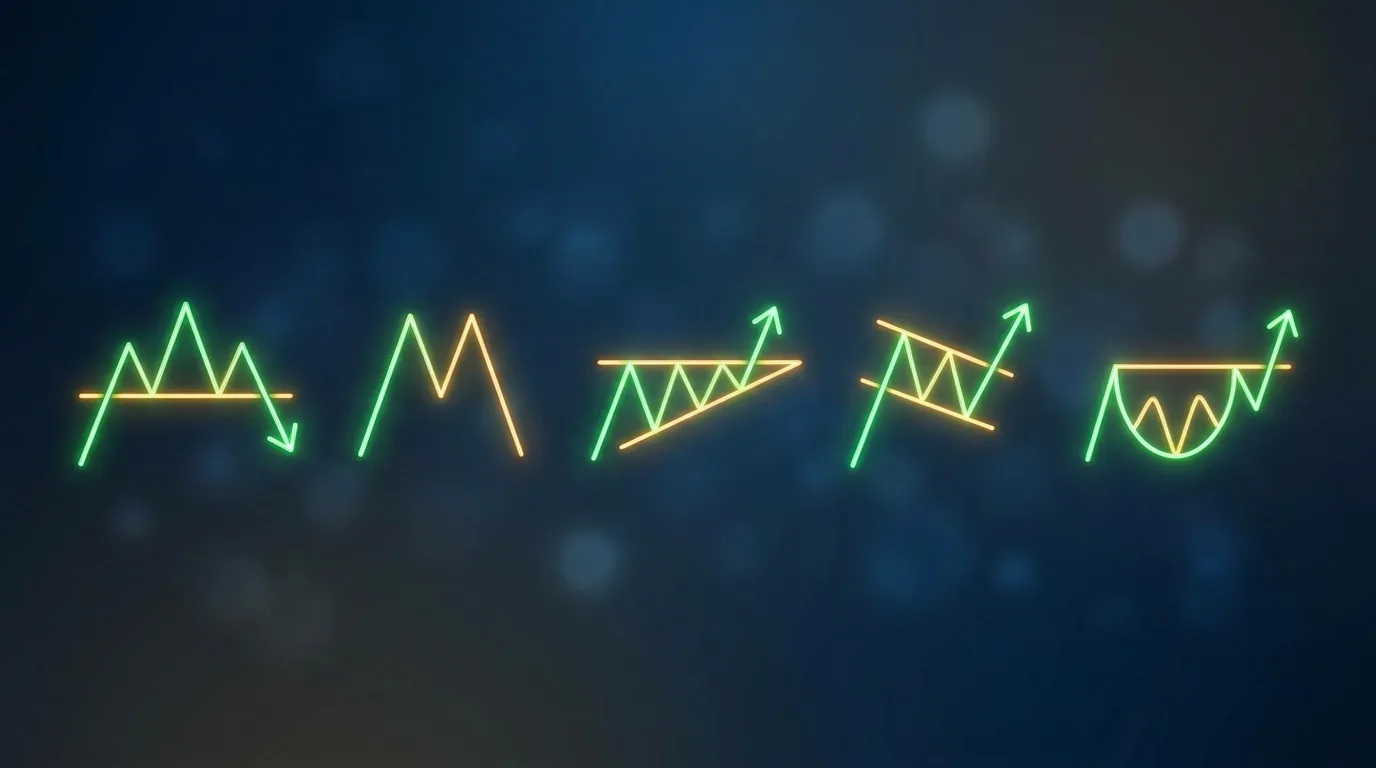
A bear flag — also called a bearish flag pattern — is a bearish continuation pattern that forms when a stock in a confirmed downtrend pauses briefly before resuming its decline. The pattern gets its name from its shape on a chart: a sharp drop (the "pole") followed by a tight upward-sloping channel (the "flag") that retraces part of the move. When the flag breaks down, the next leg of selling begins.
Honest status note: EasySwing tested a screenable Bear Flag through our out-of-sample permutation sweep, and it did not clear our selection-edge bar. It is retired from the active picks — part of our strategy graveyard, not the live scanner. This guide keeps the mechanism because the pattern is worth understanding, but treat it as education, not a live edge, and do not read a headline win rate into it. Live, tracked stats for the strategies that did clear the bar are on the performance page.
Thomas Bulkowski catalogued bear flags in Encyclopedia of Chart Patterns (3rd ed., 2021) and found they rank among the most reliable continuation patterns. In his database of over 1,000 bear flag samples, the pattern achieved its price target 64% of the time — and the average decline after breakdown measured 16% within the following 3 weeks.
Anatomy of the Pattern
Every bear flag has three components:
- The pole: A sharp, high-volume decline — typically 5-15% over a few days. This is the initial selling wave that establishes bearish momentum.
- The flag: A shallow, upward-drifting channel lasting 3-10 days. Volume contracts during this phase as selling pressure temporarily eases. The bounce looks constructive to inexperienced buyers, but it is actually a low-conviction relief rally.
- The breakdown: Price drops below the lower trendline of the flag channel on expanding volume. This confirms that sellers have regained control and the next leg down is underway.
The critical distinction between a bear flag and a genuine reversal is volume. In a bear flag, volume dries up during the flag — there is no accumulation. In a real reversal, volume expands on up-days as institutions step in to buy.
The Inverted EMA Stack
Where Stage 2 stocks display a bullish moving average stack (EMA9 > EMA20 > SMA50), bear flag candidates show the mirror image:
EMA9 < EMA20 < SMA50This inverted EMA stack confirms the stock is in a sustained downtrend. The 9-day exponential moving average leads the decline, with the 20-day and 50-day following. When the bounce during the flag phase reaches the EMA9/EMA20 zone and stalls, that resistance zone becomes the short entry area.
Think of it as the bearish equivalent of a pullback to a rising moving average — except the pullback is upward into falling moving averages, and the trade direction is short.
Entry Checklist
EasySwing's Bear Flag detection requires all of the following conditions:
- ✅ Inverted EMA stack confirmed (EMA9 < EMA20 < SMA50)
- ✅ Price has bounced into the EMA9/EMA20 resistance zone
- ✅ Price did NOT close above EMA20 (the bounce is contained)
- ✅ RSI(14) between 45-60 (weak bounce, not oversold)
- ✅ Volume declining during the bounce phase
- ✅ Breakdown candle confirmation (close below the flag channel)
- ❌ Do not short if price closed above EMA20 — the bounce may be transitioning to a genuine reversal
- ❌ Do not short if RSI is below 30 — the stock is already oversold and a snapback is likely
The RSI filter is critical. A bear flag works best when the bounce brings RSI into the 45-60 "weak recovery" zone. If RSI remains below 30, the stock is already extended and shorting offers poor risk-reward. If RSI climbs above 60, the bounce has real momentum and the bearish thesis weakens.
Stop Placement and Targets
Because bear flags are short trades, the stop goes above entry — not below. This is the opposite of long setups:
- Stop loss: 1.5 ATR above entry price. This gives enough room for intra-day noise without allowing the trade to run against you if the breakdown fails.
- Target 1 (T1): 1.5 ATR below entry (1:1 risk-reward). Take partial profits here — scale out 50% of the position.
- Target 2 (T2): 2.5 ATR below entry (1.7:1 risk-reward). Let the remaining position ride with a trailing stop to capture the full breakdown move.
- Maximum hold: 12 days. If the trade has not hit T1 within 12 days, the breakdown has stalled and you should close.
The setup uses a 1.5 ATR stop with 1.5/2.5 ATR targets — a modest, symmetric short-side profile by design. We do not publish a win rate or average R for it: in out-of-sample testing it did not clear EasySwing's selection-edge bar, so any headline figure would overstate an edge that is not there. See the performance page for the strategies that are live-tracked.
For a deeper understanding of how R-multiples and stop distances work together, see our guide on position sizing.
When Bear Flags Work Best
Bear flags are regime-dependent by design. The thesis is that they fit some regimes and not others:
- Trending Down: the best-aligned environment. When the broad market is declining, individual stock breakdowns have the macro wind at their backs.
- High Volatility: also directionally aligned. Fear-driven markets amplify breakdowns, though wider stops may be needed due to increased daily ranges.
- Ranging / Transitioning: poor fit. Bear flags in choppy markets frequently fail as buyers step in at support levels.
- Trending Up: do not trade bear flags in bull markets. Even weak stocks tend to stabilize or bounce when the broad market is rising.
These are directional-fit judgments from the setup's design, not published win rates — the strategy is retired from the active picks.
Bear Flag as a Short-Side Concept
Most stock screeners are built exclusively for long-side trading. They scan for breakouts, momentum, and uptrend setups — but offer nothing when the market turns south. The bear flag is one of the short-side patterns EasySwing has studied as part of building a two-sided methodology.
EasySwing tested a screenable Bear Flag with the same rigor applied to long setups like VCP and Trend Pullback — full entry checklist, ATR-based stops and targets, and a conviction grade (A+/A/B+/B/C). It did not clear our out-of-sample selection-edge bar, so it is retired to the graveyard rather than surfaced by the live scanner.
The bear flag also uses relative strength as a conviction filter, but inverted. Where long strategies want RS rank above 80, the bear flag wants RS rank at or below 40. This ensures you are shorting the weakest stocks — the ones underperforming 60% or more of the market. Weak stocks in a weak market break down harder and faster.
Common Mistakes
Shorting in bull markets. The single most common mistake is trying to short individual stocks during a broad market uptrend. Even stocks with perfect bear flag patterns will frequently fail to break down when the macro environment is bullish. Always check the market regime before taking any short trade.
No conviction filter. A bear flag in a stock with RS rank 60 is not the same as a bear flag in a stock with RS rank 20. The weaker the relative strength, the higher the probability of a successful breakdown. Stocks that are "just slightly weak" often get rescued by sector rotation or broad market strength. Target RS rank 40 or below for high-conviction shorts.
Oversized positions. Short trades carry unique risks — losses are theoretically unlimited on the upside. Apply strict position sizing with the 1-2% rule and use the 1.5 ATR stop without exception. Never average into a losing short position.
Ignoring the volume signature. The flag phase must show declining volume. If volume expands on up-days during the bounce, institutions may be accumulating — and what looks like a bear flag may actually be a reversal base. No volume contraction, no trade.
Key Takeaways
- A bear flag is a short-selling continuation pattern: sharp decline (pole), weak upward bounce (flag), breakdown
- The inverted EMA stack (EMA9 < EMA20 < SMA50) confirms the stock is in a sustained downtrend
- Entry requires a bounce into EMA9/EMA20 resistance, RSI 45-60, declining volume, and breakdown confirmation
- Stop goes above entry (1.5 ATR), targets below (1.5 ATR for T1, 2.5 ATR for T2), max hold 12 days
- By design it is a Trending Down / High Volatility setup and should be avoided in bull markets — but this implementation did not clear EasySwing's out-of-sample edge bar and is retired from the active picks
- Filter for RS rank 40 or below to short only the weakest stocks in the market
- We do not publish a win rate for a retired setup; live tracked stats for the active strategies are on the performance page
Frequently Asked Questions
Is shorting stocks risky for beginners?
Shorting carries additional risks compared to going long — most notably, losses are theoretically unlimited because a stock price can rise indefinitely. For beginners, the bear flag strategy should only be traded with strict position sizing (0.5-1% account risk per trade) and hard stop losses. Start paper trading shorts before committing real capital, and never short without a predefined stop.
How is a bear flag different from a regular pullback?
A bear flag is the bearish mirror of a trend pullback. In a bullish pullback, a stock in an uptrend dips to its rising EMA9/EMA20 support and bounces — you buy the dip. In a bear flag, a stock in a downtrend bounces to its falling EMA9/EMA20 resistance and fails — you short the rally. The mechanics are identical but inverted: support becomes resistance, longs become shorts, stops go above instead of below.
Can I use options instead of shorting shares directly?
Buying put options is a common alternative to direct short selling. Puts cap your maximum loss at the premium paid, eliminating the unlimited-loss risk of shorting shares. However, puts add time decay as a factor — if the breakdown takes longer than expected, the option loses value even if the direction is correct. The bear flag's 12-day maximum hold period should guide your expiration selection (choose at least 30 DTE to allow buffer).
What happens when a bear flag fails?
A failed bear flag means the stock closes above the EMA20 during the flag phase or fails to break down after forming the pattern. When this happens, exit immediately at the predefined stop. Failed bear flags sometimes become reversal patterns — if the stock reclaims the EMA20 with increasing volume, the bearish thesis is invalidated. The 1.5 ATR stop limits loss to a manageable -1R regardless of what happens next.
The Bear Flag is retired from EasySwing's active picks — it did not clear our out-of-sample selection-edge bar, and this guide covers the mechanism as education rather than a live signal. Screening results are for informational purposes only and do not constitute investment advice. See our Risk Disclaimer.
Disclaimer: This article is for educational purposes only and does not constitute investment advice. EasySwing is a stock screening tool, not a registered investment advisor. All trading involves risk. Read our full disclaimer →